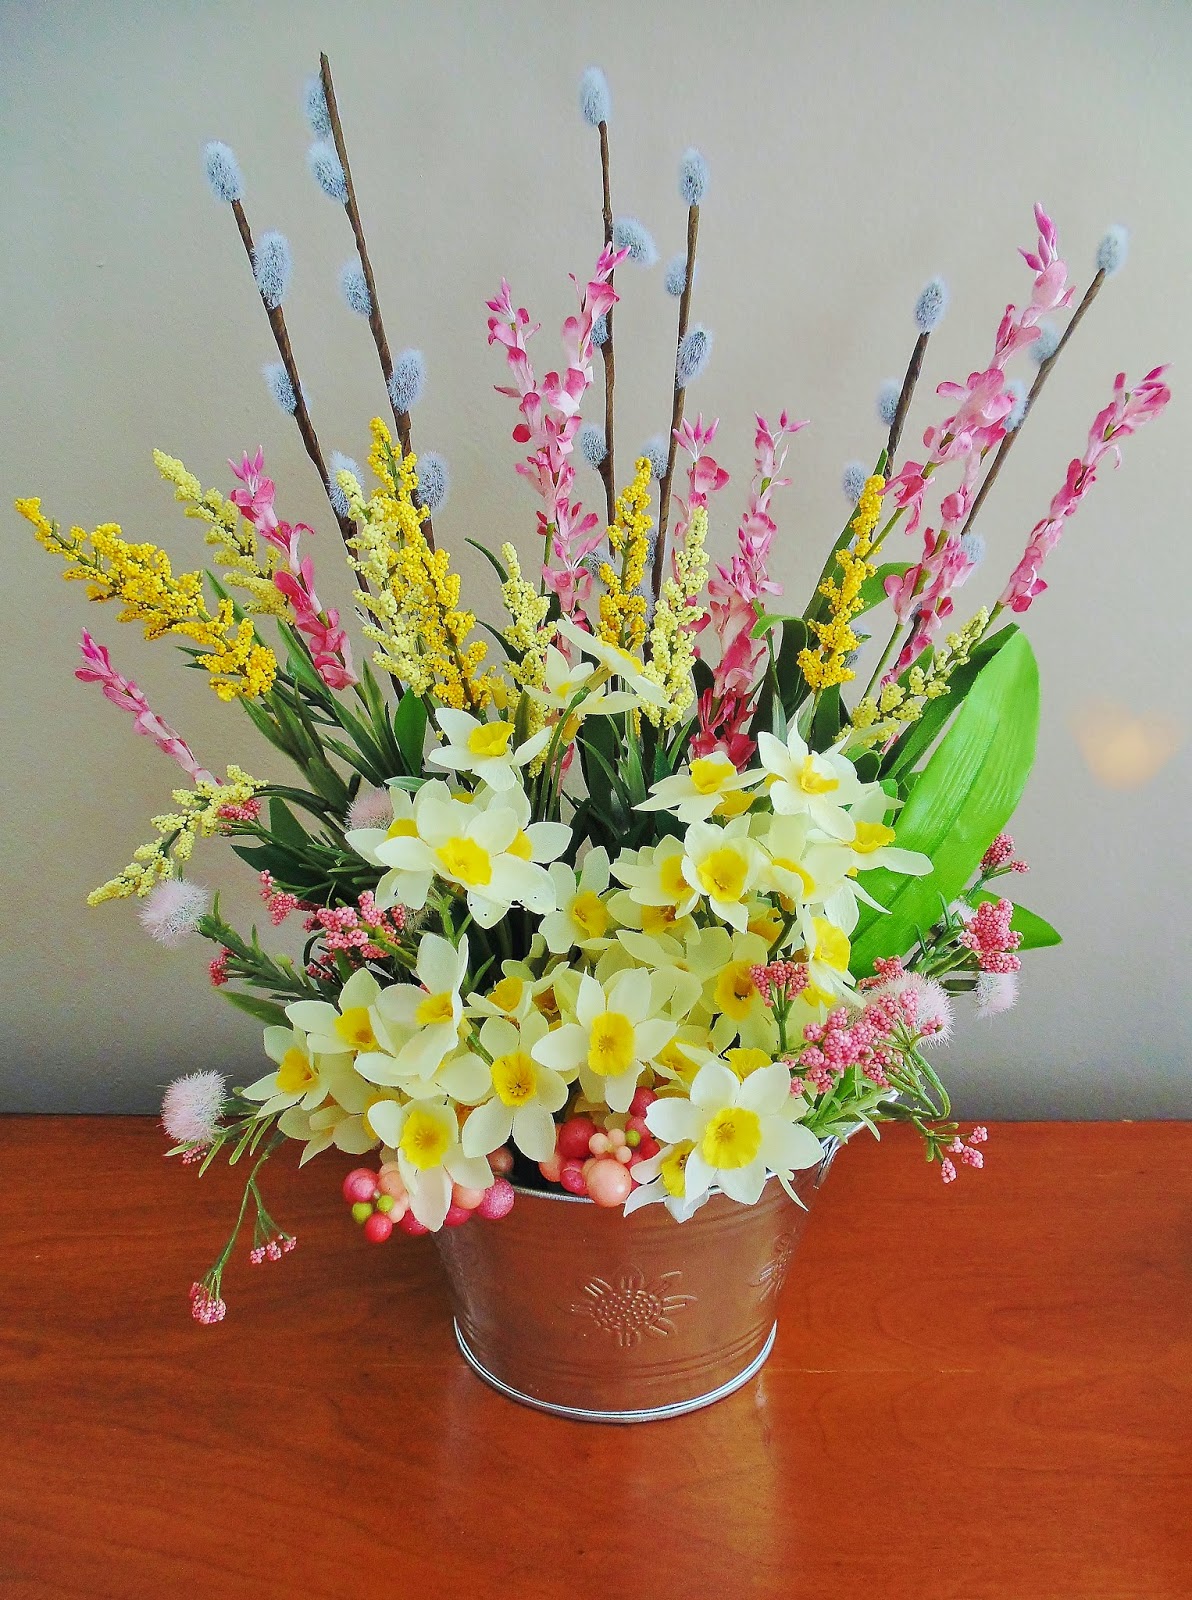
So, to get myself even more in the mood for the changing of seasons, I started decorating my Spring/Easter mantle over the weekend! You may remember my rambling story about the first mantle I have ever had, and how inspired I was to decorate it for every major holiday. And since I only started this on-going project for Valentine's Day, I'd say I'm doing a pretty good job, haha!!
I kind of struggled with what I wanted my Spring mantle to look like, pretty much because there are so many great ideas out there sometimes it's difficult for me to narrow things down to what I like the most and what I think will work for my house. I'm sure I'm not the only one who struggles with this...I can't be! So, this time, I started off slowly. I went out shopping one day and found a lot of things I liked, but only a few things I absolutely loved. One of the things that I decided I really wanted was a spring flower wreath or arrangement; eventually I decided on a simple flower centerpiece, mainly because wreath forms are so expensive! So, I popped by the Dollar Store, picked up a cute mini metal wash tub, picked out a bunch of lovely flower stems from Michaels (at 40% off!!), and went home and got to work.
All you need to make your own spring-y flower arrangement are some inexpensive supplies and a little bit of time!
Supplies
Artificial flower stems
Foam floral block
Container
Glue gun
Wire cutters
How-To
1. Start by hot gluing the foam block to the bottom of your container of choice. If the block doesn't fit into your container as is you can cut-to-fit with a craft knife, or any sharp kitchen knife.
2. Separate your flowers, which usually come in large bunches, into individual stems. If the bunch is held together with floral tape, simply remove it to get individual stems; otherwise, the individual stems will need to be cut off of the bunch using the wire cutters. I personally prefer when the stems aren't all the same length, but feel free to do whatever you think looks best.
3. Now you can start arranging your flowers. I like to start with what will be my "main" flower; for this particular piece, I used daffodils. Simply push stems into the foam block; usually it isn't necessary to glue the stems into place, but it can be done if you feel your flowers need a little more stability. Place in stems of your main flower, starting front and center, and work your way out to the sides until you are satisfied.
4. Next, start adding in your "filler stems"; I chose things like pussy willows, which naturally occur as fillers. I like to work from low-to-high, first adding in your shortest fillers around the front, and gradually adding in taller fillers behind your main flower, ending in the back with your tallest stems (the pussy willows for me).
5. When you think you are finished, place the arrangement where it will be "living" in your home. Take a few steps back, and look at it from a distance; this will help you to see if there are any empty spots, or any uneven places. Adjust as necessary.
Now you're done! All you need to do now is put your arrangement in its new home and enjoy it! Easy-peasy.
Now you're done! All you need to do now is put your arrangement in its new home and enjoy it! Easy-peasy.
 |
| Chick Bowl - Shopper's Drug Mart | Covered Glass Jar - Winners | Coloured Robin's Eggs - Michaels | Wax Warmer - Scentsy (discontinued) |


Gorgeous! Love the step by step directions... you have inspired me and I can't wait to see your next mantle!
ReplyDelete